Create a New Project
Log in to the Webapp
Navigate to the Webapp via your organisation-specific URL (e.g. 
https://your-org.adam.normalcomputing.com/dashboard). Click Login and enter your credentials.Browse the Project Dashboard
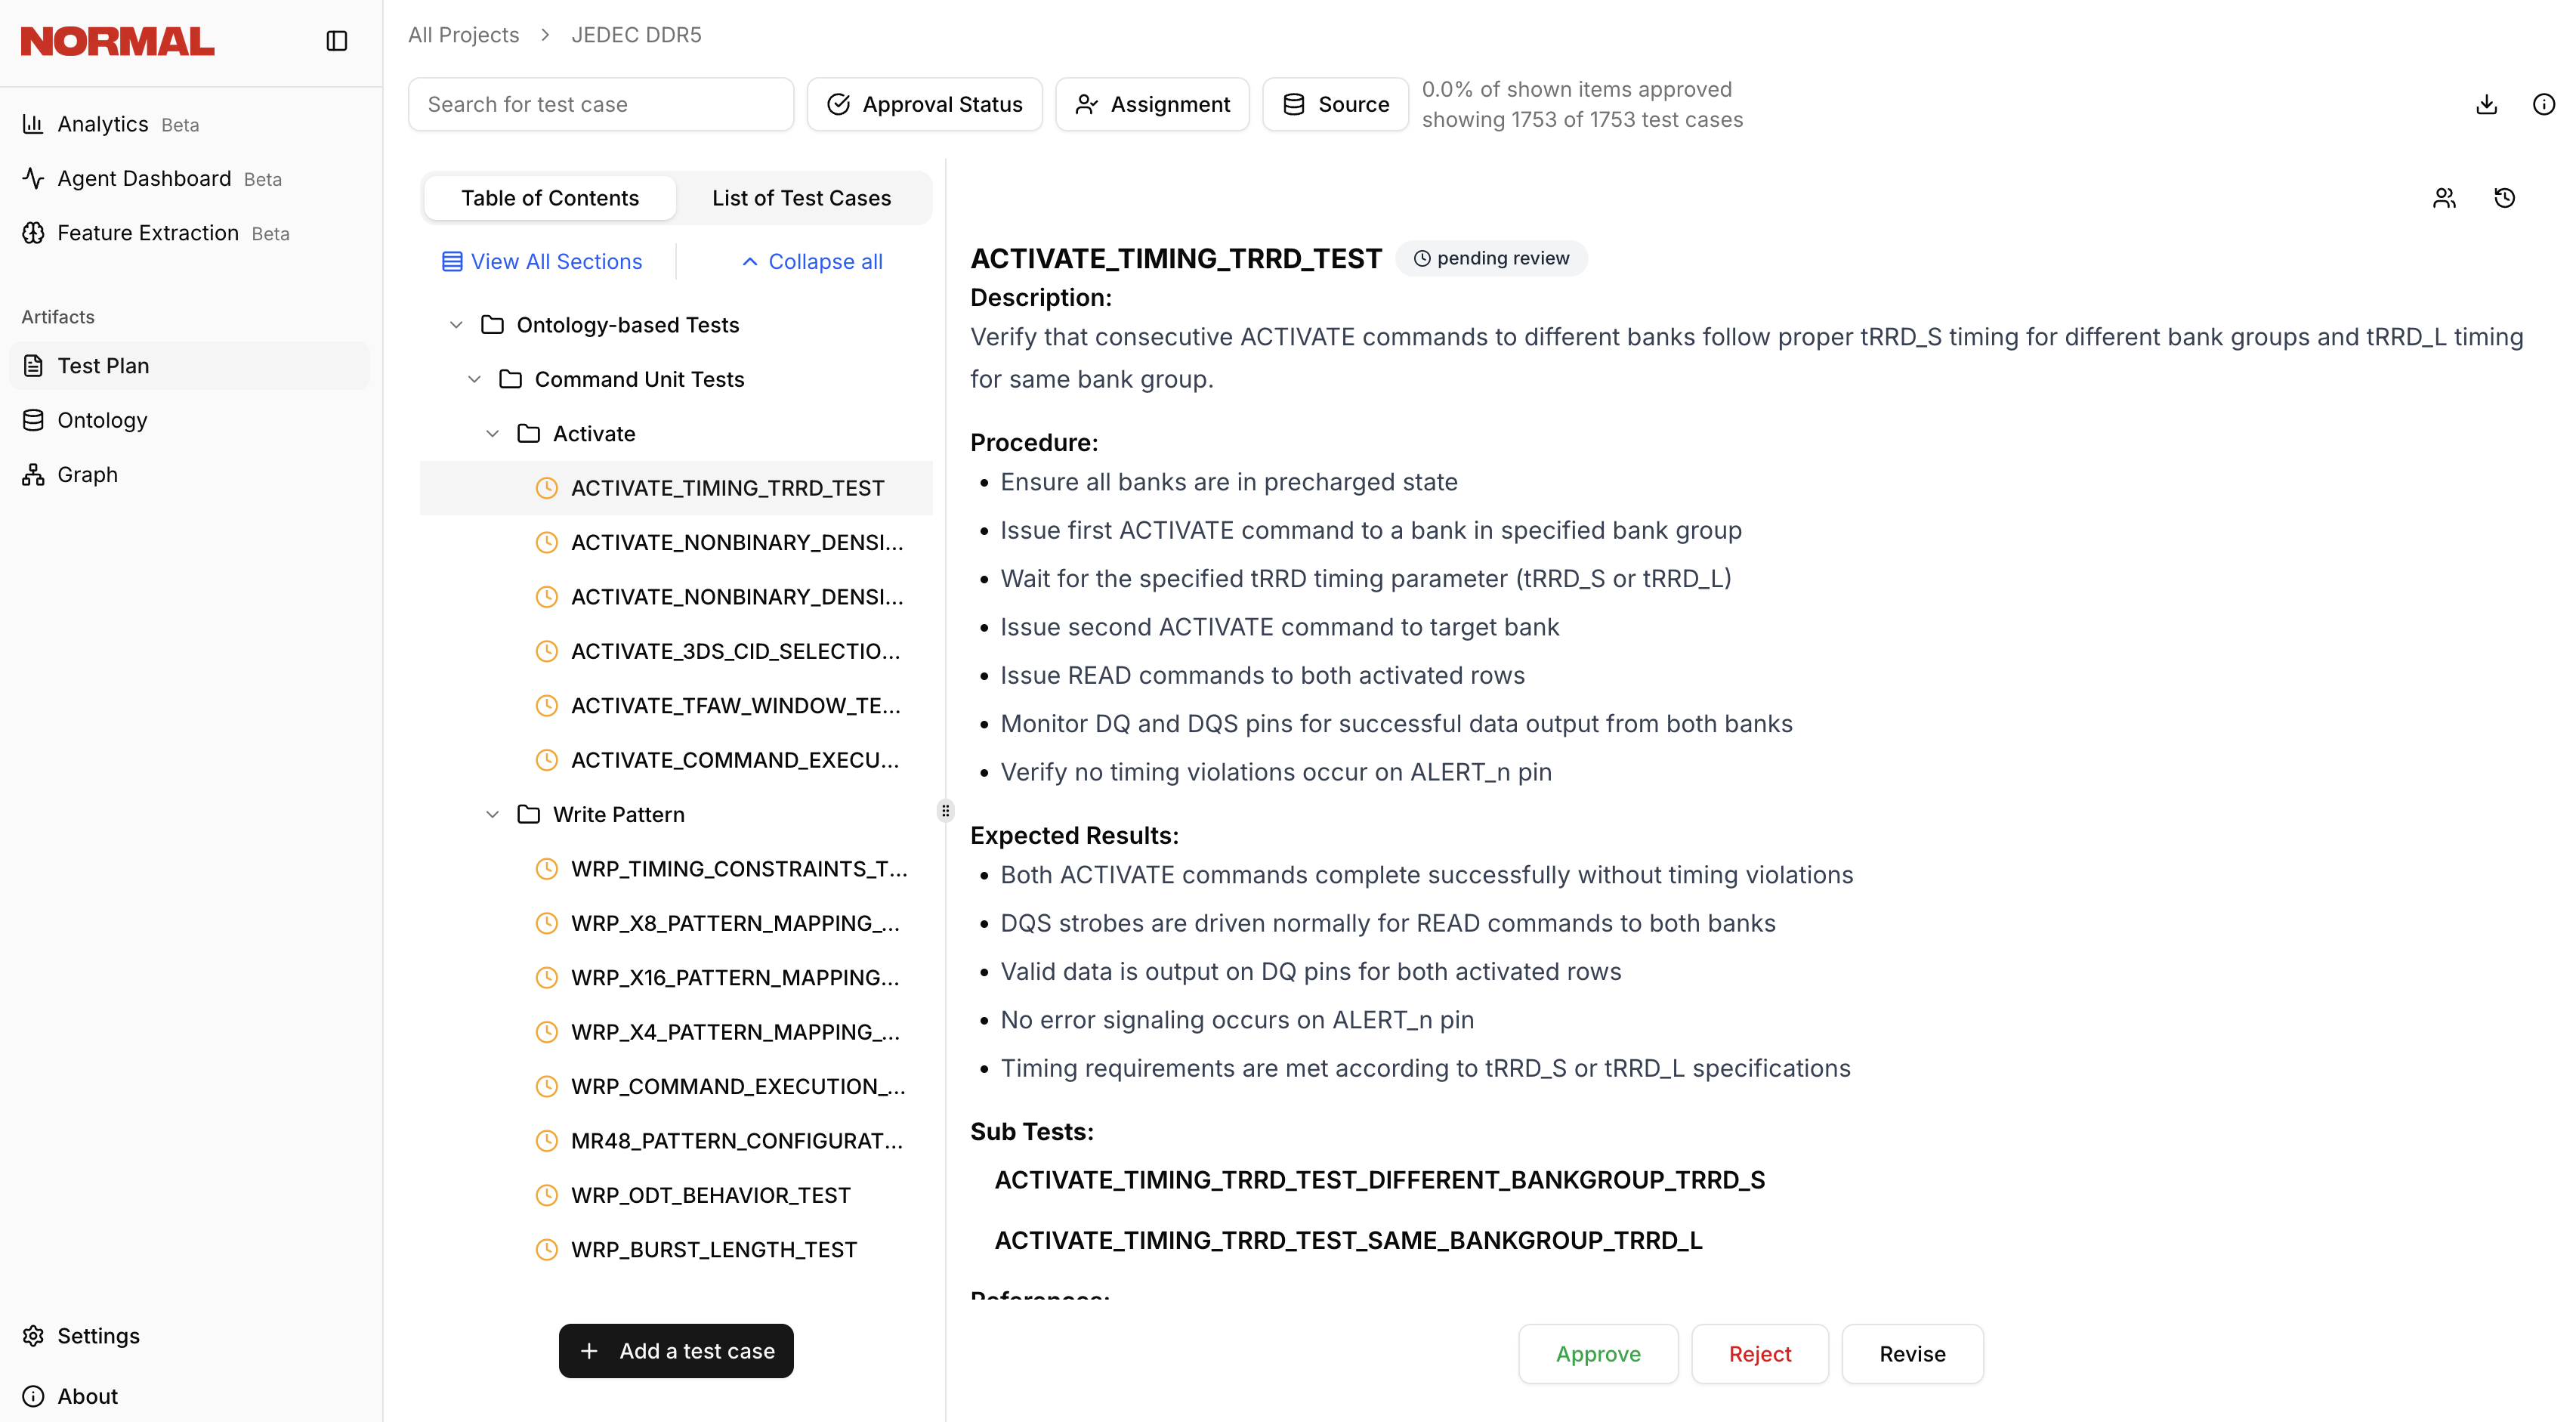
After logging in, you’ll land on the project dashboard, which shows all verification projects created by your team. Use the search bar to quickly find existing projects.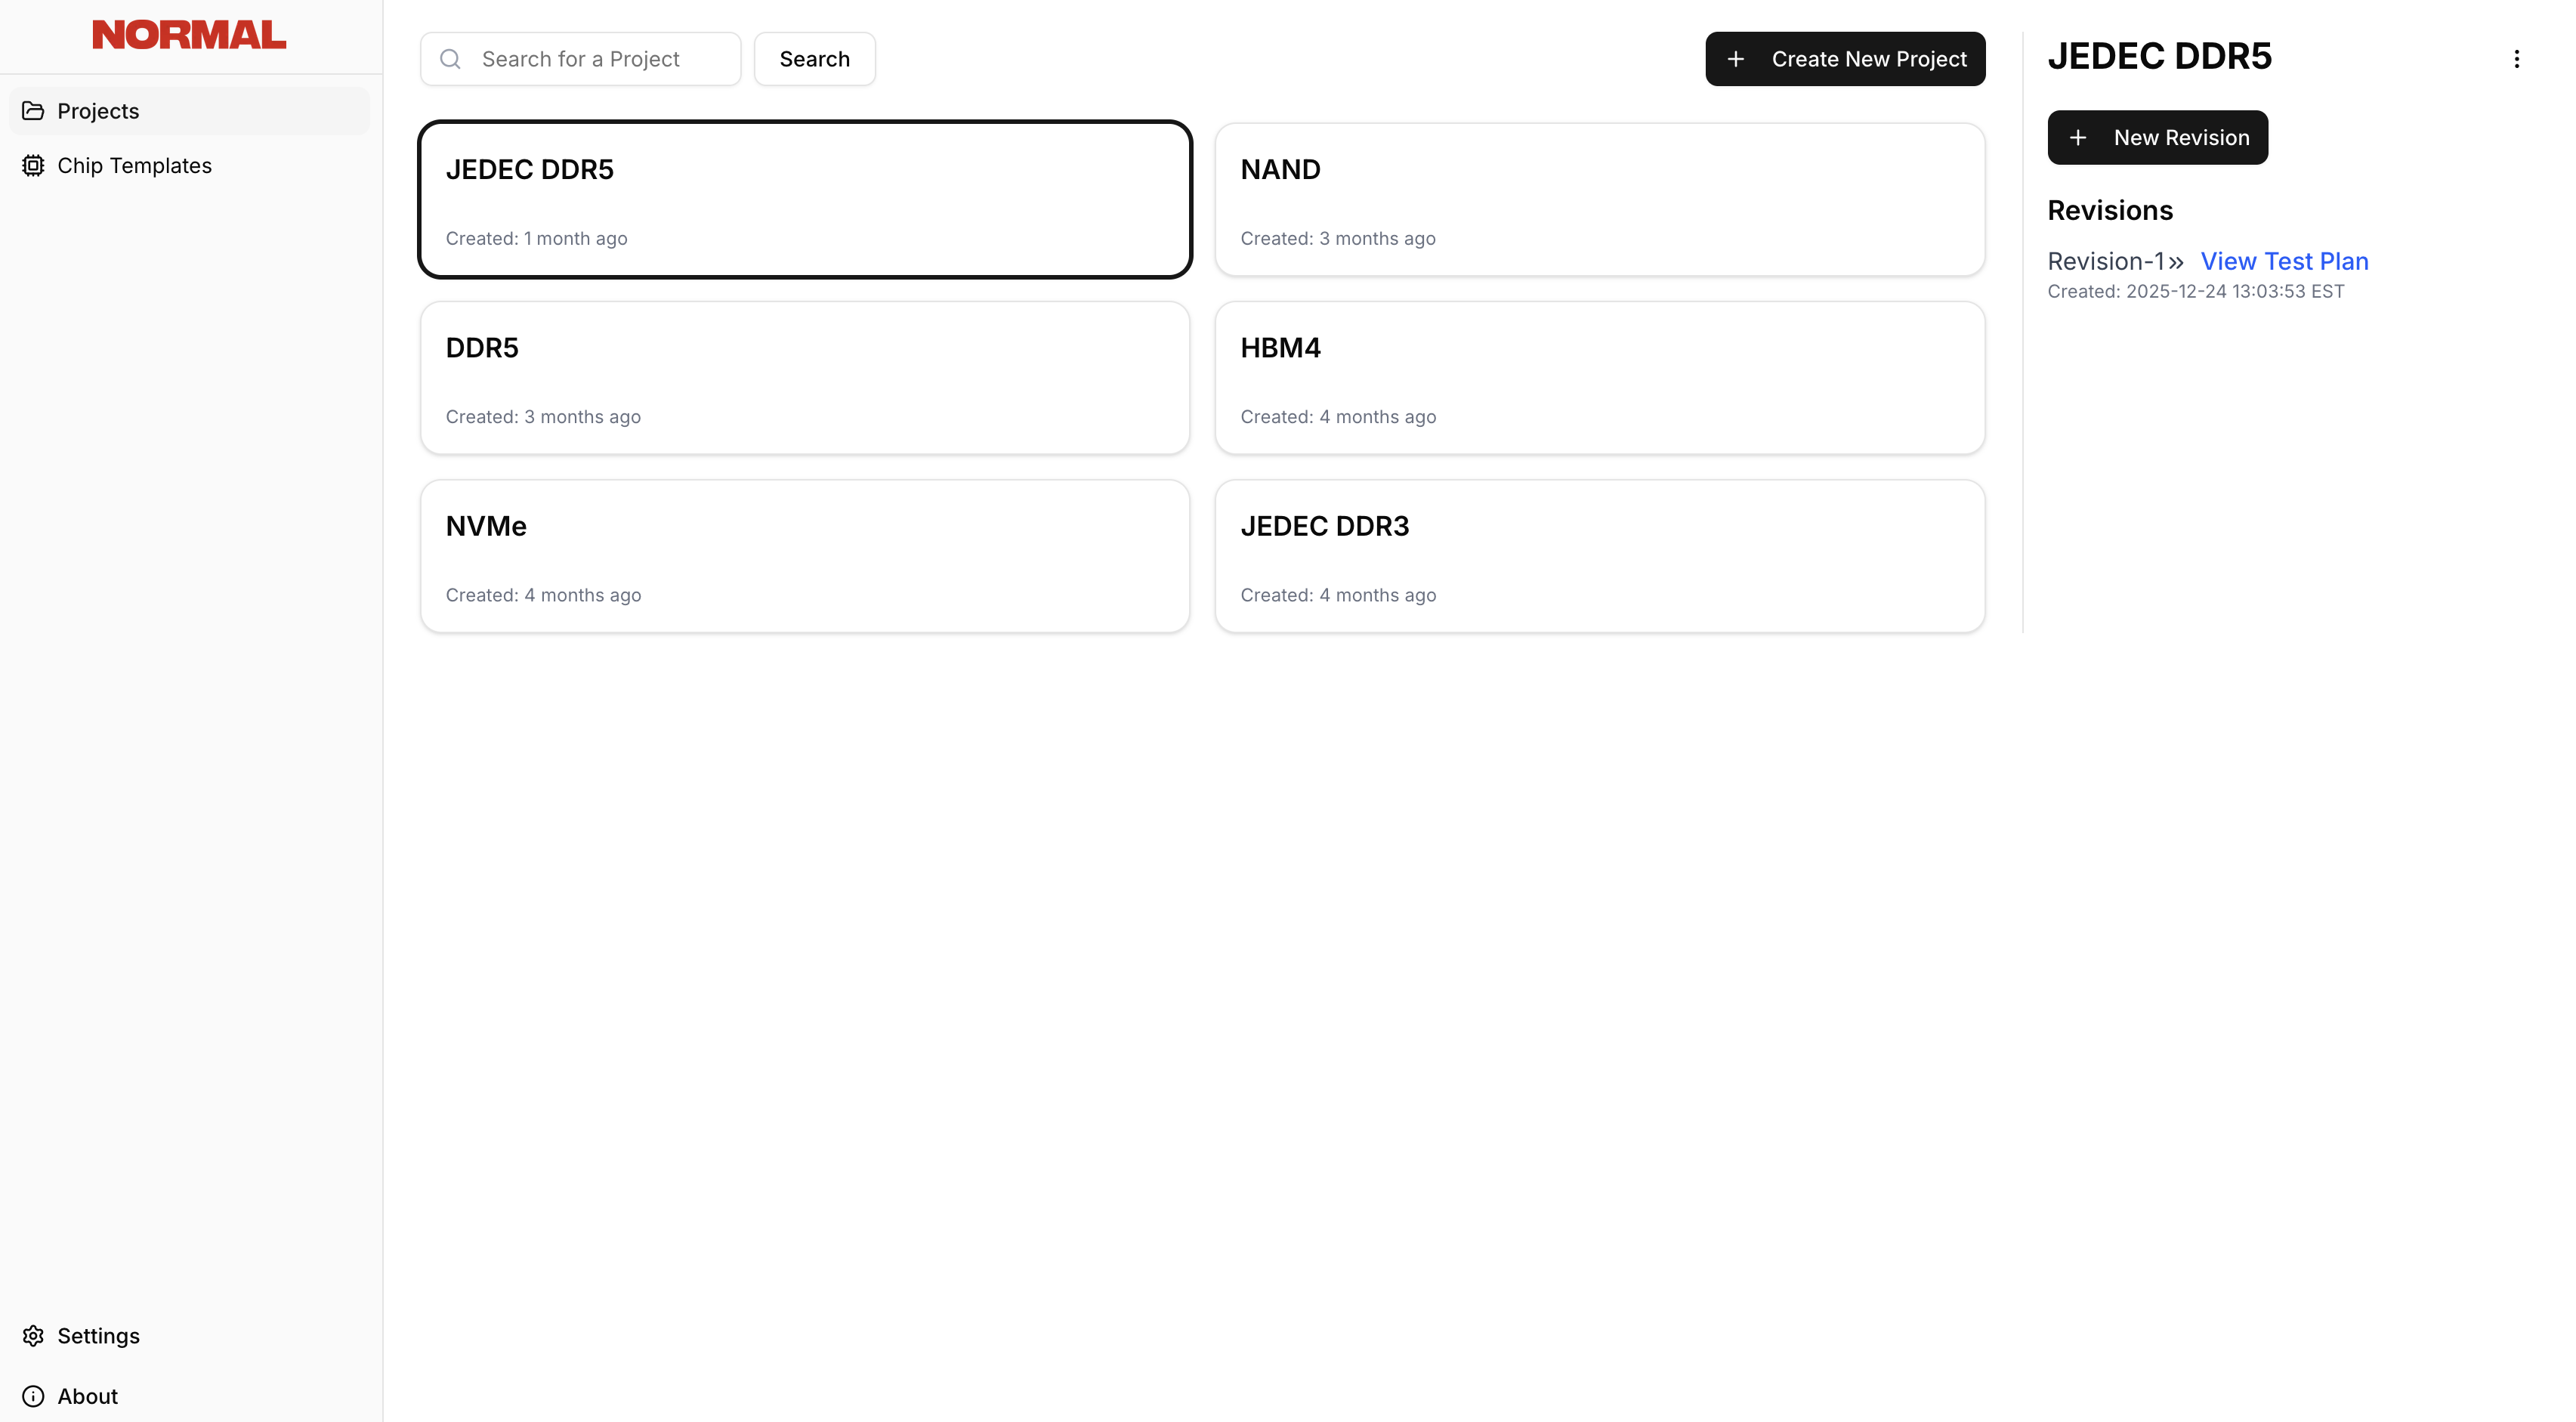
Create a New Project
Click Create New Project, then enter a descriptive project name, and upload your specifications and any contextual documents. Normal EDA accepts PDF files.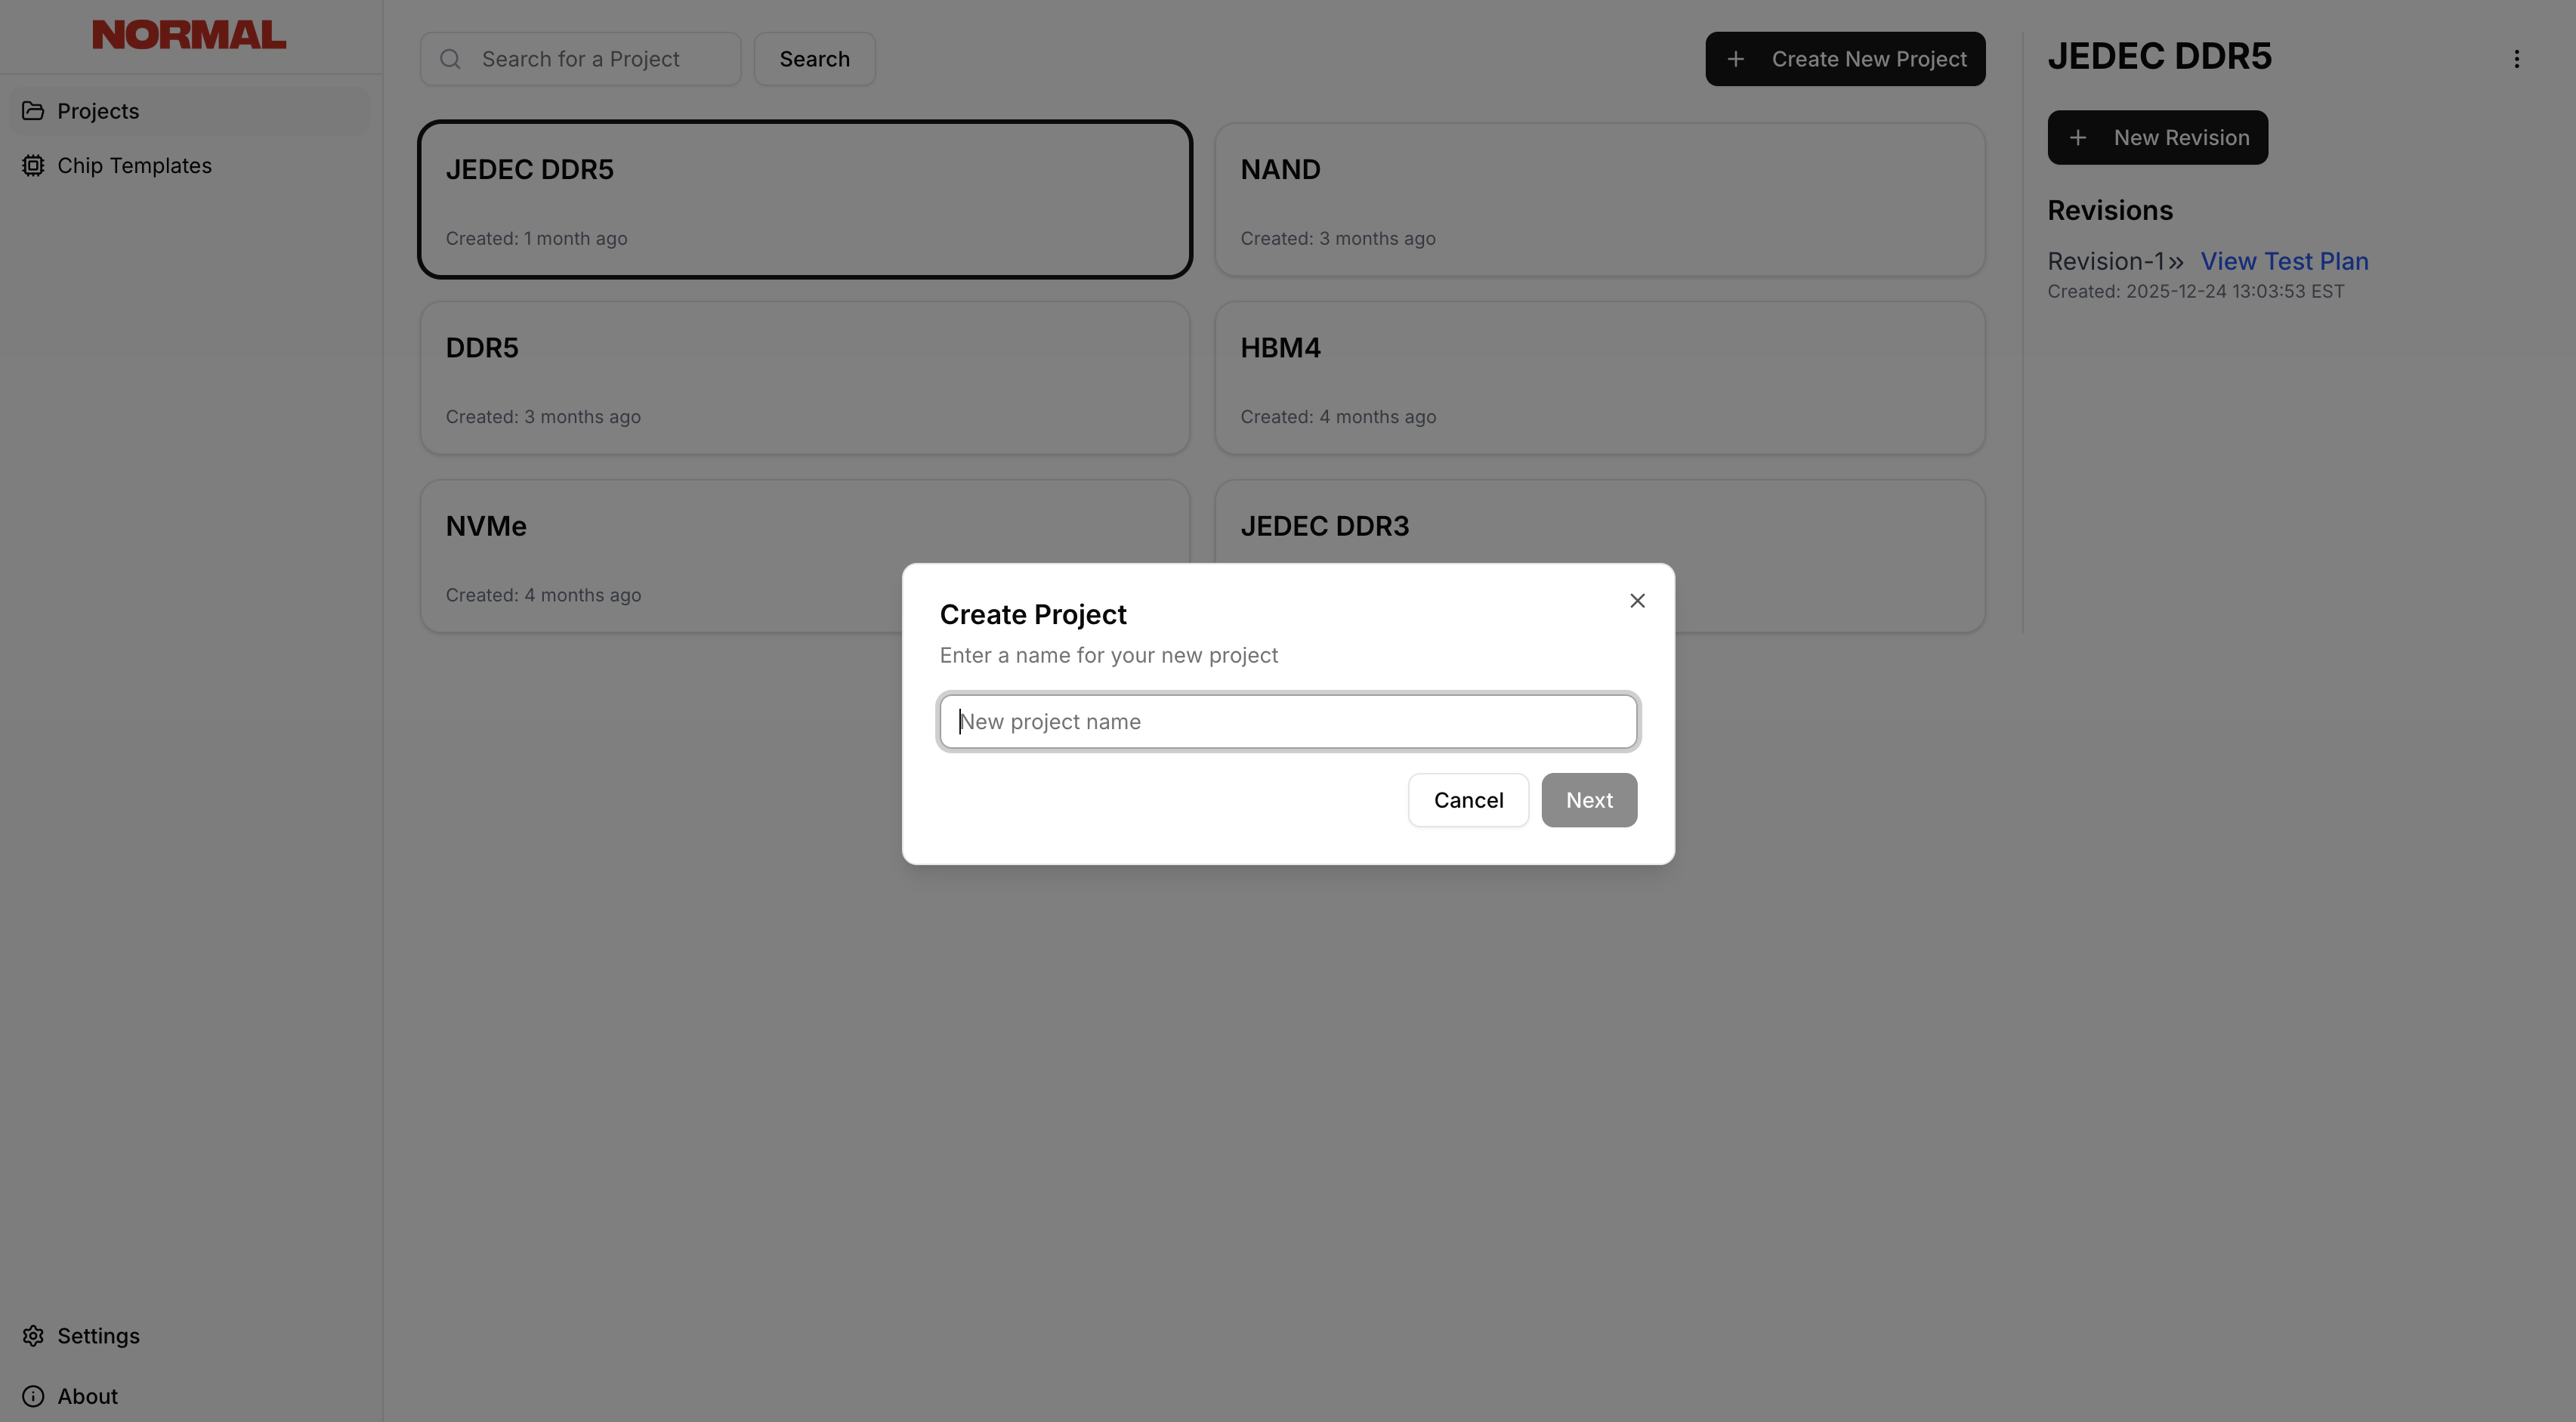
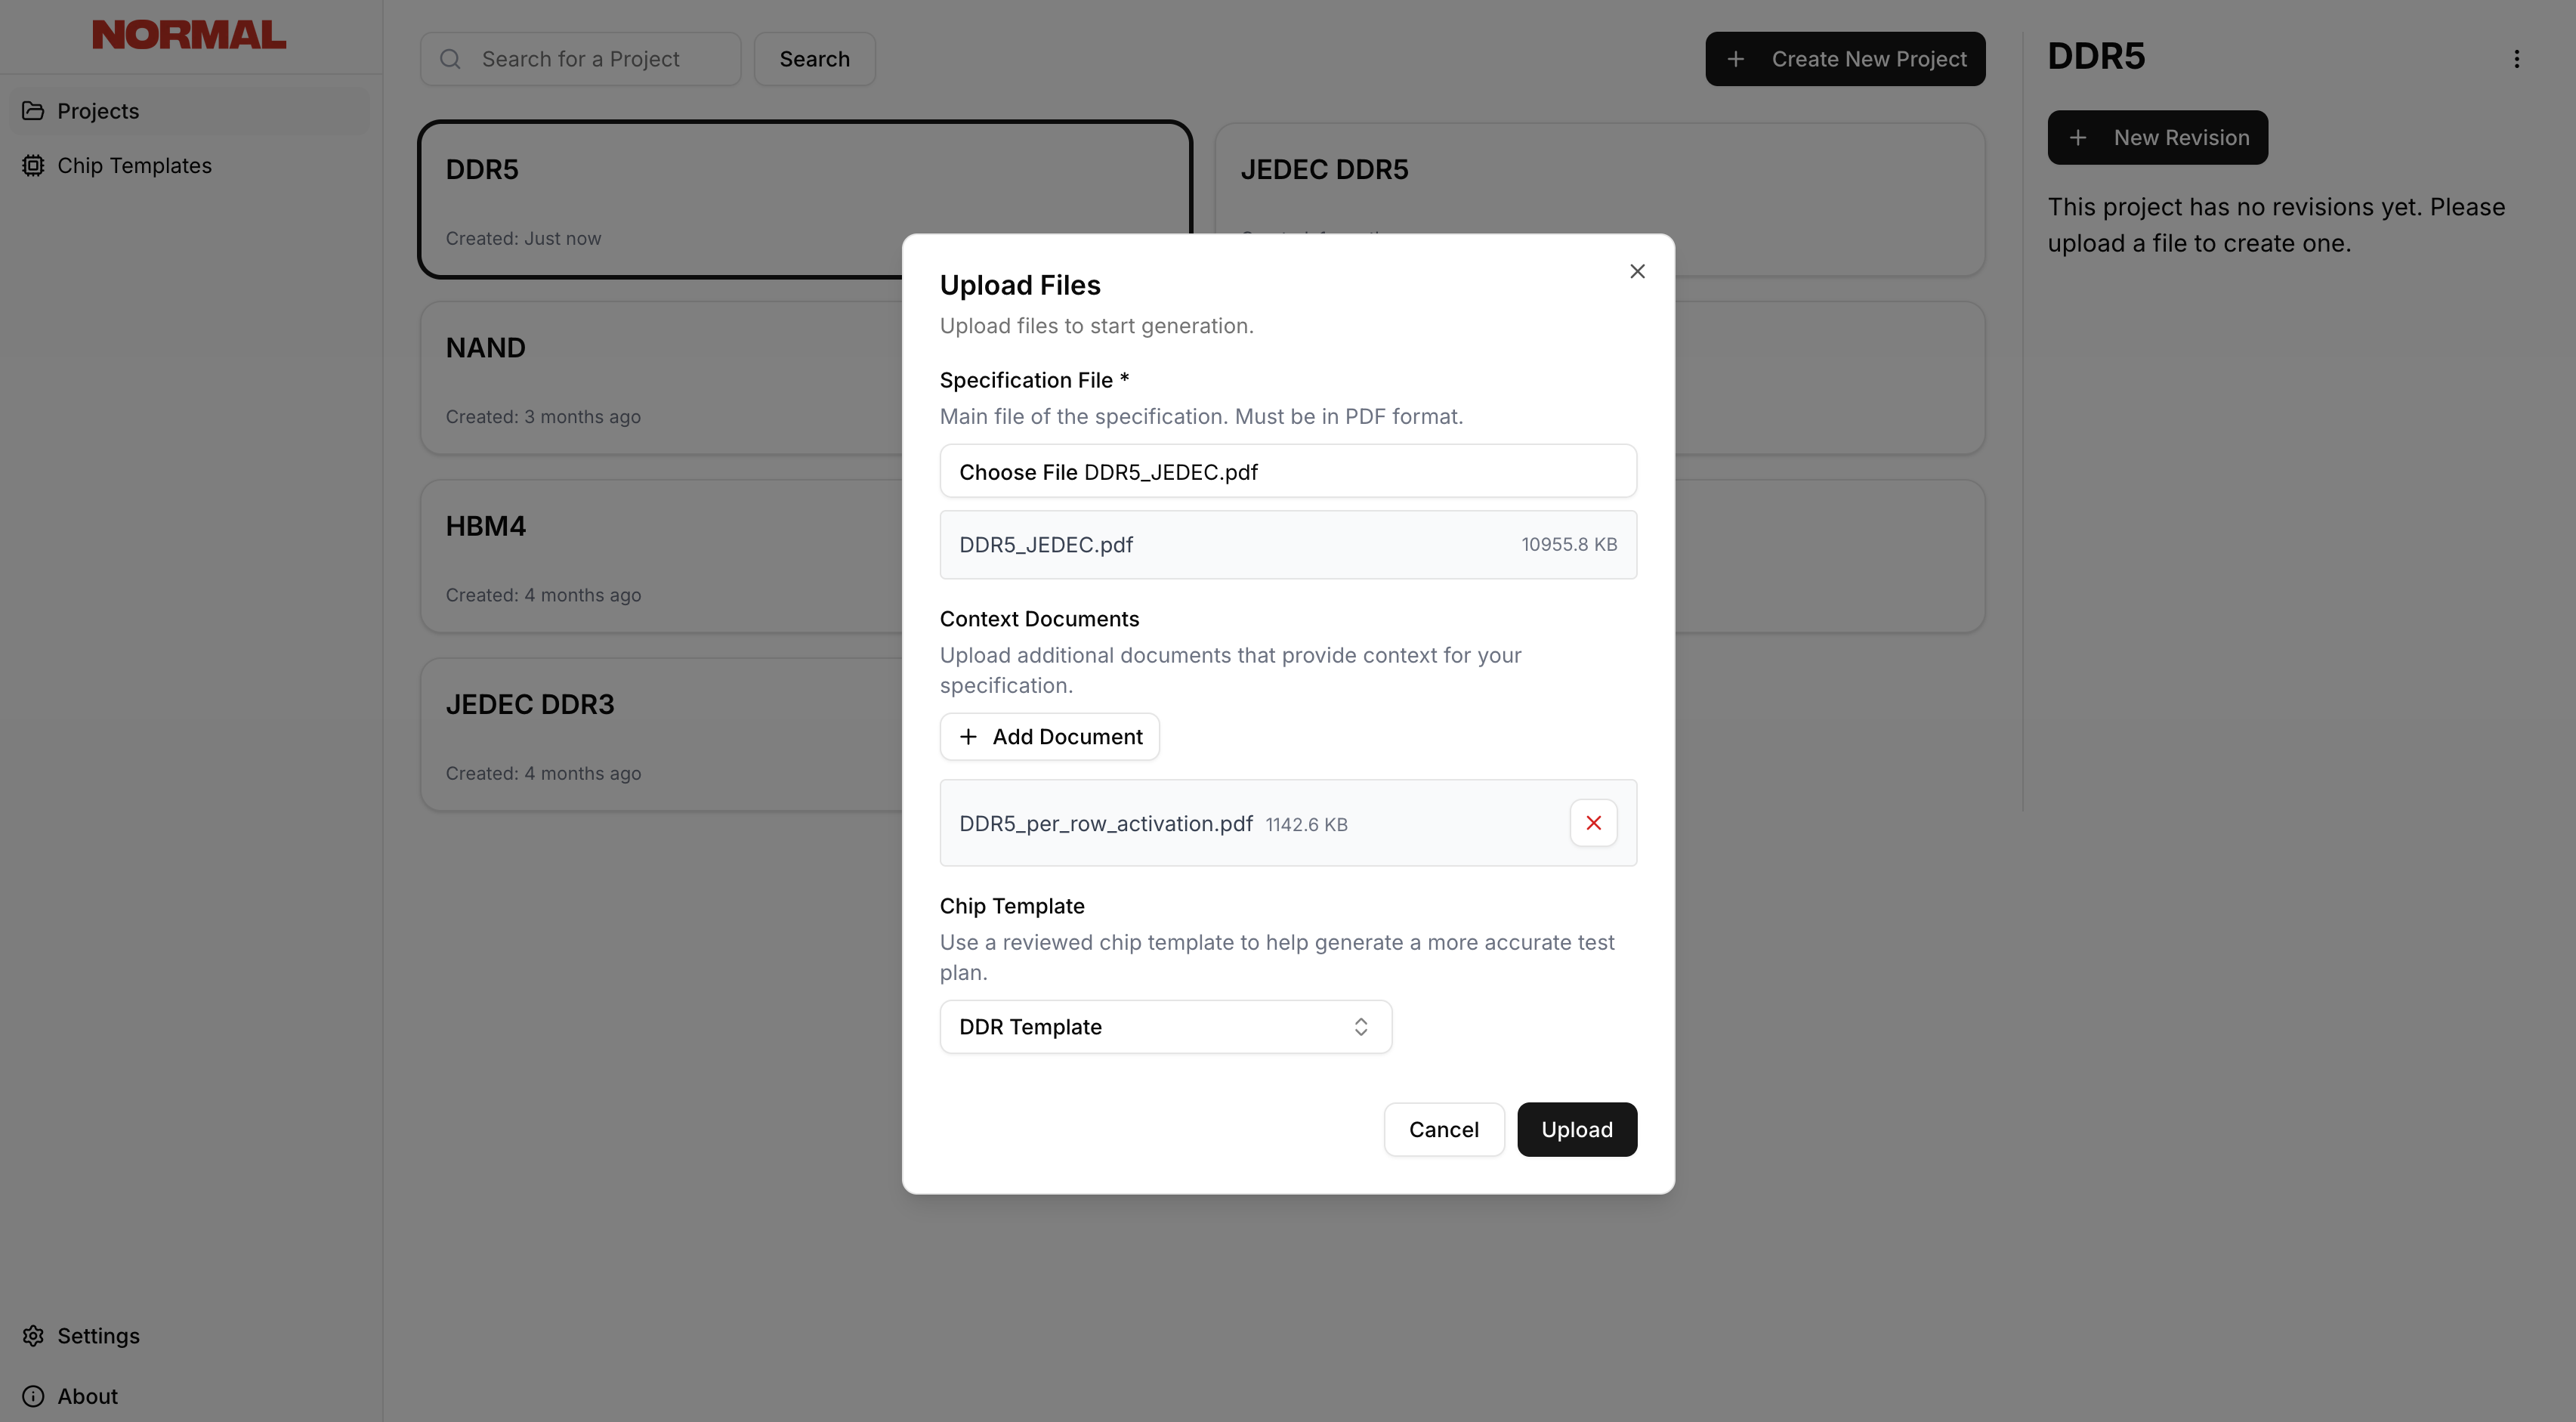
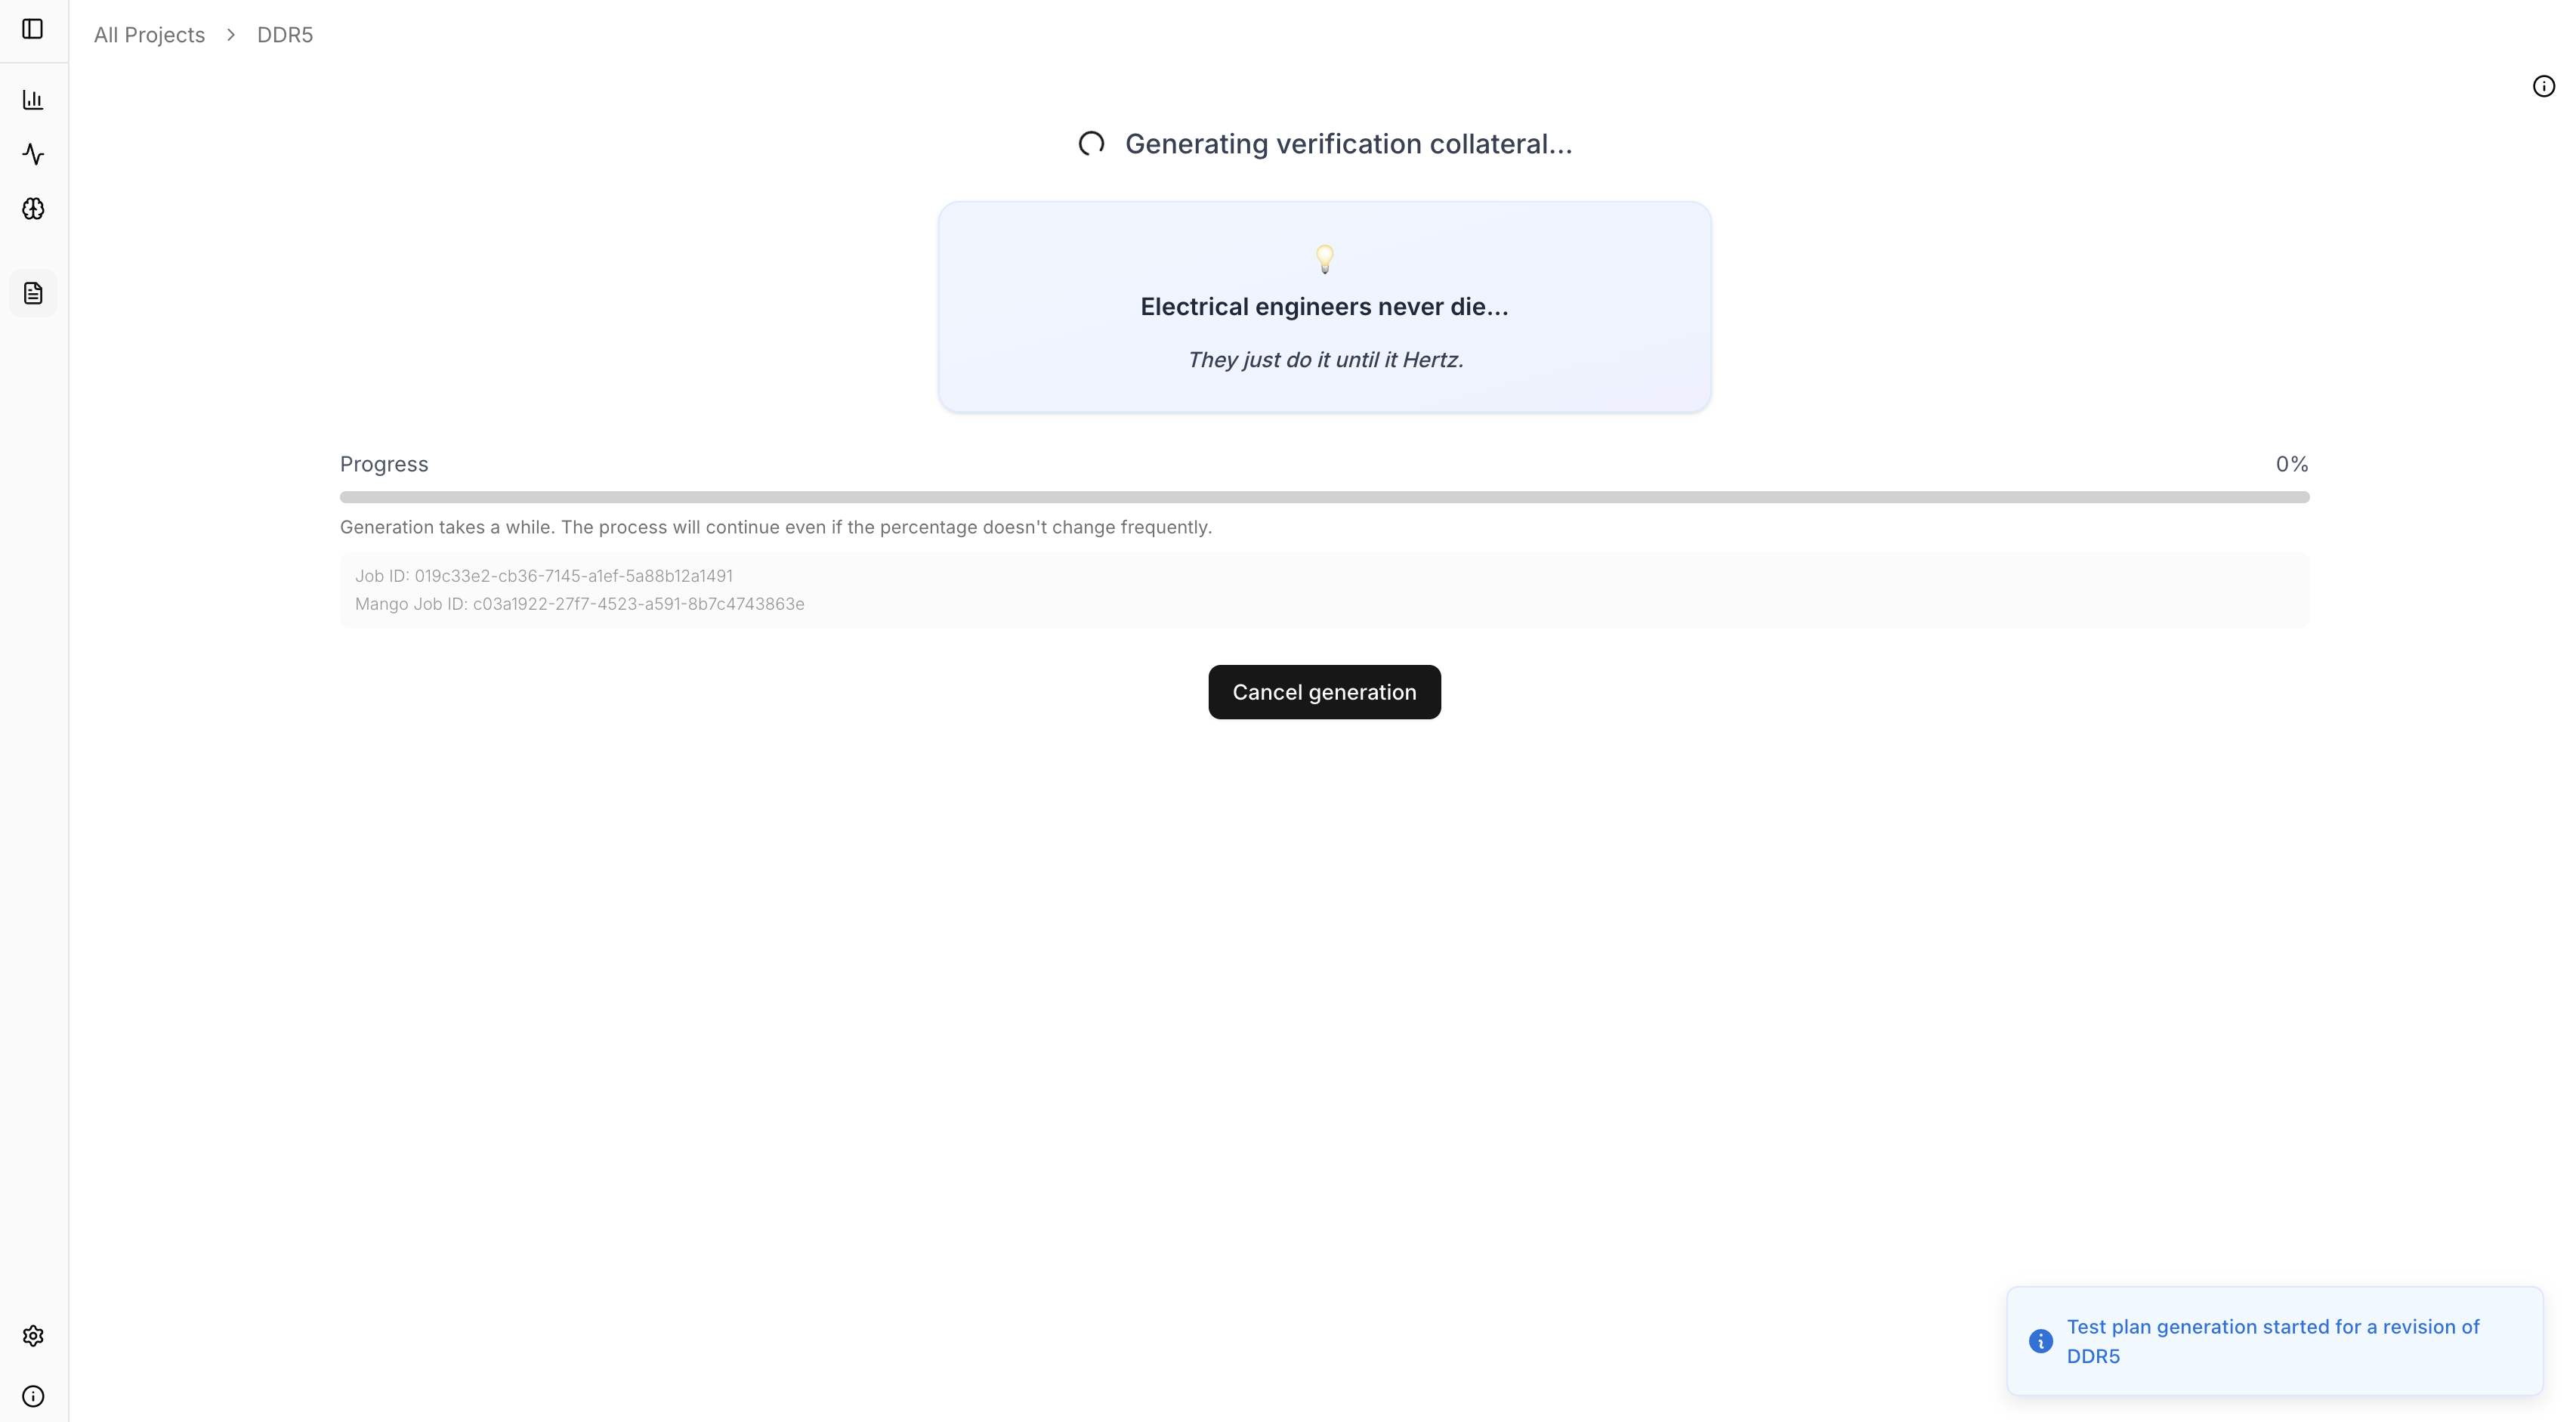
Upload and Process
Click Upload to begin processing your documents. Normal EDA will analyze the specifications and generate verification collateral.